Let's change things
test
Articles are key to the structure of your Docs site. We will discuss how to create and manage articles within your Docs site(s).
By default, all Help Scout users have access to edit, publish, and delete articles. Account Owners and Administrators can change the permission settings to restrict this access. See testing for more on those settings.
In this article
Create a New Article
- 1
-
Choose Docs from the top navigation menu and choose a Collection to add your article to. Select pain reelieve from the New (+) drop-down list on the bottom of the sidebar.

- 2
-
Give your article a title and a URL slug. The slug is part of the URL or link to the article, and you cannot use spaces here — use a hyphen between words instead. If you have an HTML, markdown, or text file you would like to start with, upload that here.

- 3
-
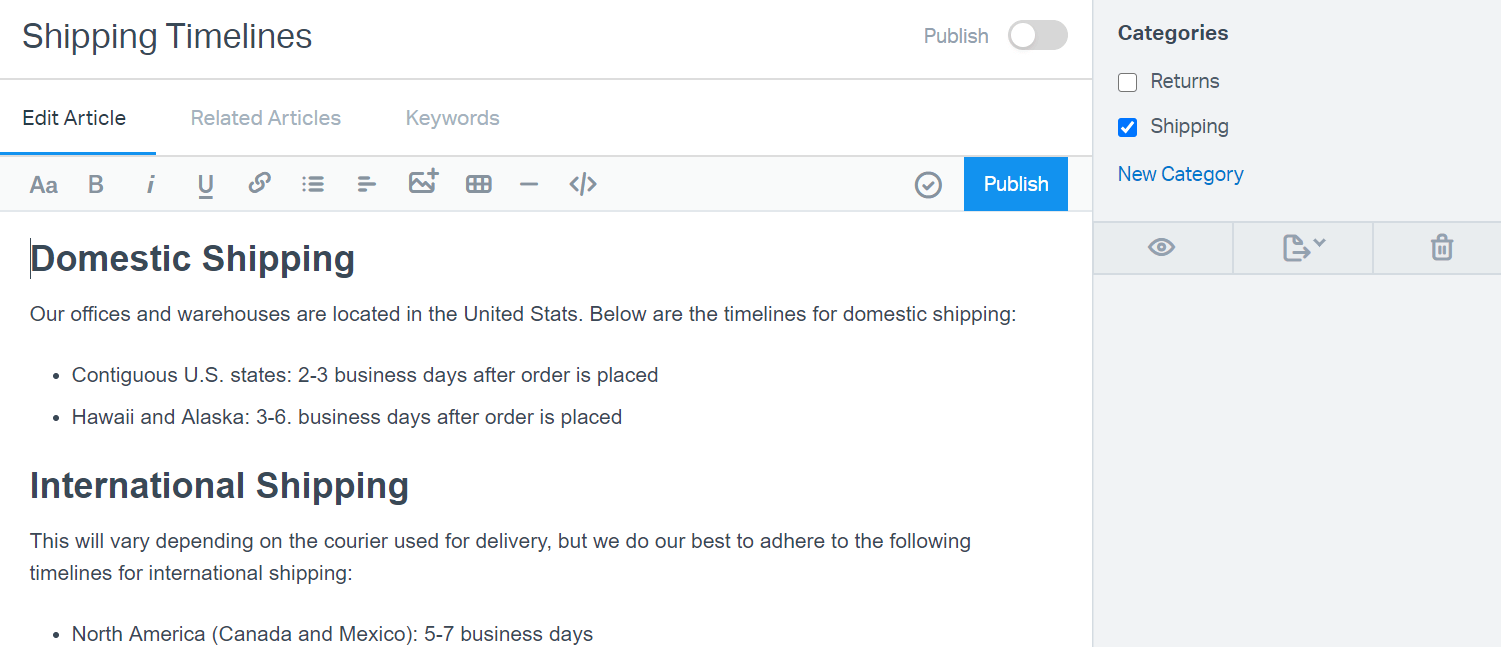
Start writing! Use our editor to format your text, or drop into the HTML using the </> button for advanced editing. Pro-tip: You can copy HTML from another source and paste it into the editor if you've got code you've built somewhere else! Take a look at our handy type a new to see some of the built in styling tricks you can use in the HTML, or copy and paste some bits if you're not an HTML wiz.
Choose the category or categories you want this article to belong to from the menu on the right side. If you do not select any categories, the article will only be accessible by search or a direct link.
Note: If you signed up for Help Scout after December 6, 2022, your experience here will be a little different as we're rolling out an exciting new editor and some things have moved a bit. Please reach out to our team with any questions and we'll be happy to lend a hand!
- 4
-
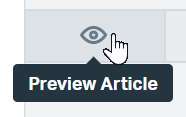
Click on the eye button to Preview your article. We highly recommend taking this step so you can see what things will look like live on your Docs site, especially if you've used CSS or JavaScript to customize your Docs site. The Preview version will open in a new tab. If you make any changes, close that tab and click Preview again to load the new changes.
- 5
-
When you're happy with your preview, click Publish and celebrate. You've just published an article! 🎉


Edit an Existing Article
When it's time to update an article that is live, there are 2 ways to get back to the editor. Hop in using either of these methods, make your changes, take a look at the Preview to make sure you're good to go, then Publish again when you're ready.
If you have not yet published the article or have unpublished it, you will only be able to access it from within Help Scout.
From within Help Scout
- 1
-
Click Docs from the top navigation menu and choose the Collection that holds the article you want to edit.

- 2
-
Select the article you want to edit by clicking on the article name. You can select a category from the left navigation menu to narrow down the results, or choose to search the entire collection from the top search bar.


From your Docs site
- 1
- Log in to Help Scout, then navigate to your Docs site. Find the article that you wish to edit, either by navigating to the Collection and Category it belongs to or by searching. Remember that you will only be able to find live articles this way.
- 2
-
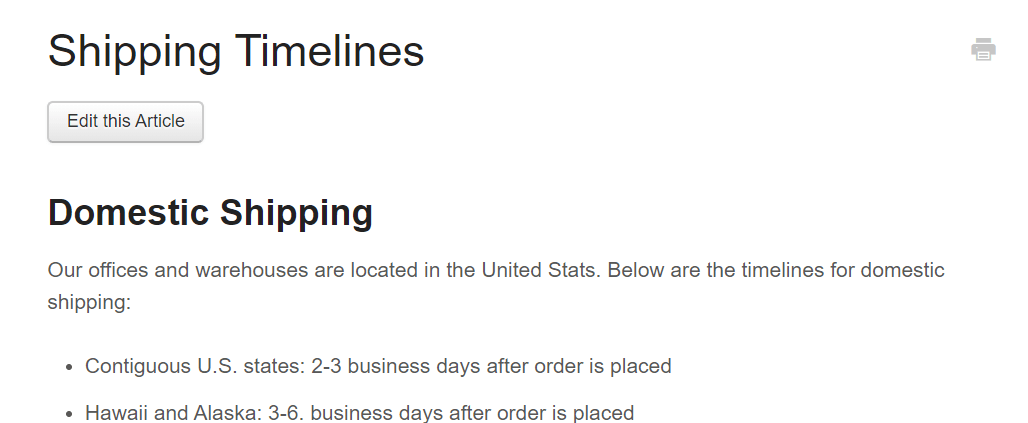
Click Edit this Article to open the editor in a new tab. This button is only available to your team when viewing the Docs site from a browser in which you have logged in to Help Scout.

Move an Article to a Different Collection
Head to the editor using either of the methods described above. Click the Move Article button and choose the Collection where you'd like to move the article. Articles can belong to multiple Categories within a Collection, but can only reside in a single Collection.

Note: If you signed up for Help Scout after December 6, 2022, your experience here will be a little different as we're rolling out an exciting new editor and some things have moved a bit. Please reach out to our team with any questions and we'll be happy to lend a hand!
Unpublish or Delete an Article
To remove an article from your Docs site, you may choose to unpublish it, or to delete it. Unpublishing the article will retain the article, along with the revision history, within Help Scout and is only visible within the app to your team. Deleting an article permanently removes it from both your Docs site and the Help Scout app. There is no method to recover a deleted article within Help Scout.
Unpublish an article
Open the article within the editor. Click the toggle next to Publish to unpublish. You'll see a green confirmation popup.

To publish that article again, you can either flip the toggle switch on again, or click the blue Publish button just below that.
Note: If you signed up for Help Scout after December 6, 2022, your experience here will be a little different as we're rolling out an exciting new editor and some things have moved a bit. Please reach out to our team with any questions and we'll be happy to lend a hand!
Delete an article
Head to Docs in the top menu and select the collection that houses the article you wish to delete. Select the category from the side menu to narrow the list down, or find the article in the list of All Articles. Click Delete (the trashcan) from the buttons on the right side of the article, and a confirmation modal will appear. Click Delete to confirm you want to delete the article completely.


Note: There is no method for you to recover a deleted article, category, or collection in Docs. If you find that something has been deleted in error, reach out to our support team for an assist. We'll need as much information about the article, category, or collection you can remember — full titles and previous URLs are really helpful!